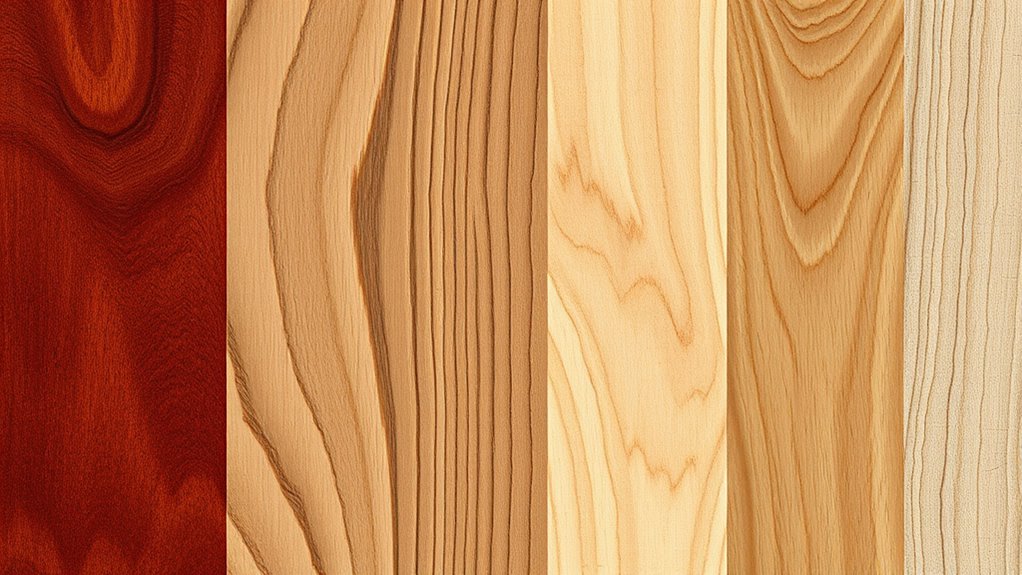
Pyrography is the art of decorating wood with burn marks using a heated pen, turning a blank piece of timber into a detailed illustration. If you're starting out, getting proportions right on raw wood is tough. That's why using free wood burning templates changes everything, giving you a clean roadmap so you can focus entirely on heat control and shading technique.
When you use a pre-made design, you skip the frustrating drawing phase and dive straight into the craft. Whether you're working on basswood planks, pine rounds, or kitchen utensils, having the right outlines on hand saves time and cuts down on ruined pieces. Let's break down where to find these designs, how to get them onto your wood, and how to master the burning process.
Where to Find Reliable Free Templates
Scouring the internet for patterns can lead to low-resolution images that blur when printed. You need clear, high-contrast black-and-white vector graphics or line art that translates cleanly to paper.
- Public Domain Art Repositories: Sites like The Graphics Fairy offer thousands of vintage illustrations, botanical sketches, and animal outlines that work brilliantly for pyrography because they feature sharp, bold line work without complex color gradients.
- Vector and Silhouette Sites: Platforms like Pixabay and Wikimedia Commons host free, high-resolution vector silhouettes. Search terms like "floral line art" or "animal silhouette" give you crisp outlines that are easy to resize and trace.
- Maker Communities and Blogs: Many independent woodworking and pyrography bloggers offer free PDF pattern libraries specifically sized for standard wood rounds and plaques.
Avoid complex color photographs. Your burner needs clear black lines to follow, not gray shades that leave you guessing where the edge sits.
How to Transfer Templates to Wood
Once you've downloaded and printed your design, getting it onto your wooden blank requires a reliable transfer method. Don't press too hard with pencils or carbon paper, as deep indents will permanently dent the wood grain before you even touch it with a hot pen.
- Size and Print: Scale your digital template to match the exact dimensions of your wood piece using standard printing software or free tools like GIMP.
- Graphite Backing: Flip your printed template over and shade the entire back side heavily with a soft 2B or 4B drawing pencil, covering all areas that correspond to the design lines on the front.
- Position and Tape: Place the template face up on your sanded wood piece. Secure the edges with painter's tape so it won't slip while you work.
- Trace: Using a dull ballpoint pen or an empty ink pen, firmly trace over every line of the design. The graphite on the back transfers a crisp, light gray outline onto the wood surface.
Essential Pyrography Techniques for Beginners
With your design transferred, it's time to plug in your wood burning tool. Temperature control and hand posture dictate the quality of your finished piece.
- Mind the Grain: Always pay attention to the direction of the wood grain. Burning across the grain creates micro-tears and a jagged, fuzzy line. Pull your pen smoothly with the grain for clean, crisp results.
- Control Your Speed: Speed and heat work together. If your lines look dark brown or black with smoke pouring off the wood, your pen is too hot or you're moving too slowly. Keep a steady, moderate pace.
- Practice on Scrap: Never start a finished project without testing your heat settings on a scrap piece of the exact same wood species. Softwoods like pine heat up and burn much faster than hardwoods like maple or walnut.
Common Mistakes to Avoid
Beginners often run into a few predictable roadblocks during their first few projects. Knowing what to watch for saves materials and frustration.
- Pressing Too Hard: Let the heat do the work. Pushing down hard on the pen strains your wrist, creates deep grooves, and wears out your solid tips prematurely.
- Ignoring Ventilation: Burning wood releases smoke and fine particulates. Always work in a well-ventilated room or use a small desktop fan to blow fumes away from your face.
- Skipping Sanding: If your wood surface feels rough, your tips will snag and skip. Sand your project piece thoroughly with 120-grit followed by 220-grit sandpaper before transferring any design.
Frequently Asked Questions
What type of wood is best for beginners?
Basswood and birch plywood are the top choices for beginners. They feature a smooth, pale surface with very subtle grain patterns, allowing your burn lines to stand out clearly without interference. Avoid treated lumber or MDF, as burning those materials releases toxic chemical fumes.
Do I need an expensive wood burning kit?
Not for your first projects. A basic solid-point burner with adjustable temperature controls costs around twenty to thirty dollars and handles most standard outlining and shading tasks. Wire-nib burners offer faster heat recovery and finer tips, which you can upgrade to once you know you enjoy the hobby.
How do I fix a mistake in my wood burning?
Minor slips or dark spots can often be sanded away using a piece of fine-grit sandpaper or a detail hobby knife used as a scraper. For larger errors, you can sand down the entire surface of the wood and restart your transfer process.
Can I use carbon paper for the transfer?
Standard dark carbon paper leaves a waxy residue that can resist the hot pen tip and cause smoke or unpleasant odors. Graphite transfer paper or the DIY soft pencil method outlined above is much cleaner and won't interfere with the burning process.